


Thinking about going tubeless for gravel? Good call. It’s honestly one of the best upgrades you can make. You get lower pressures, fewer flats, better grip, and a much smoother ride. And the best part? It’s not hard to do.
We’ve been setting up tubeless gravel bikes for years. Once you understand the basics—and stop fighting the bead—it becomes second nature.
Why Gravel Tubeless Just Works
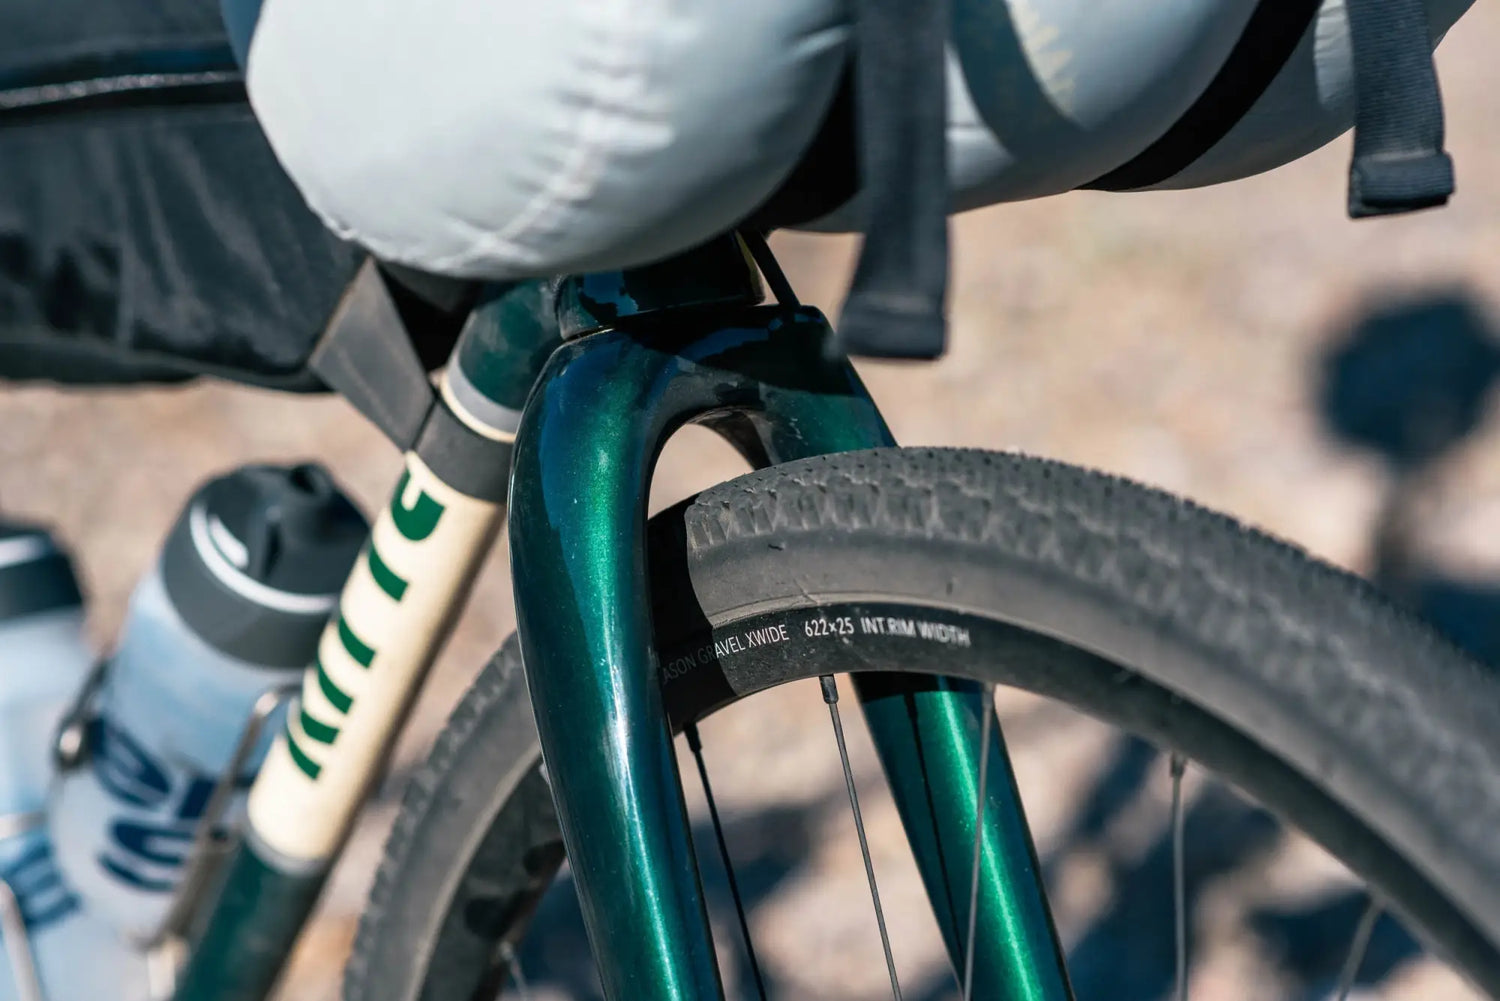
Gravel tires, like MTB tires, are high volume. That alone makes everything easier. The larger tires, lower pressure, and higher volume make mounting easier and increase all of the tubeless benefits compared to a road tubeless setup.
What You Actually Need
You don’t need a compressor, fancy inflator, or tubeless-specific anything. Here’s what we use every time:
• A floor pump that actually moves air (Silca Terra works great)
• Tire levers (Pedro’s are reliable and rim-friendly)
• Valve core remover
• Tubeless sealant
• Sealant injector (many small sealant bottles have caps that double as the injector)
That’s it. No high-pressure burst tank. No drama.
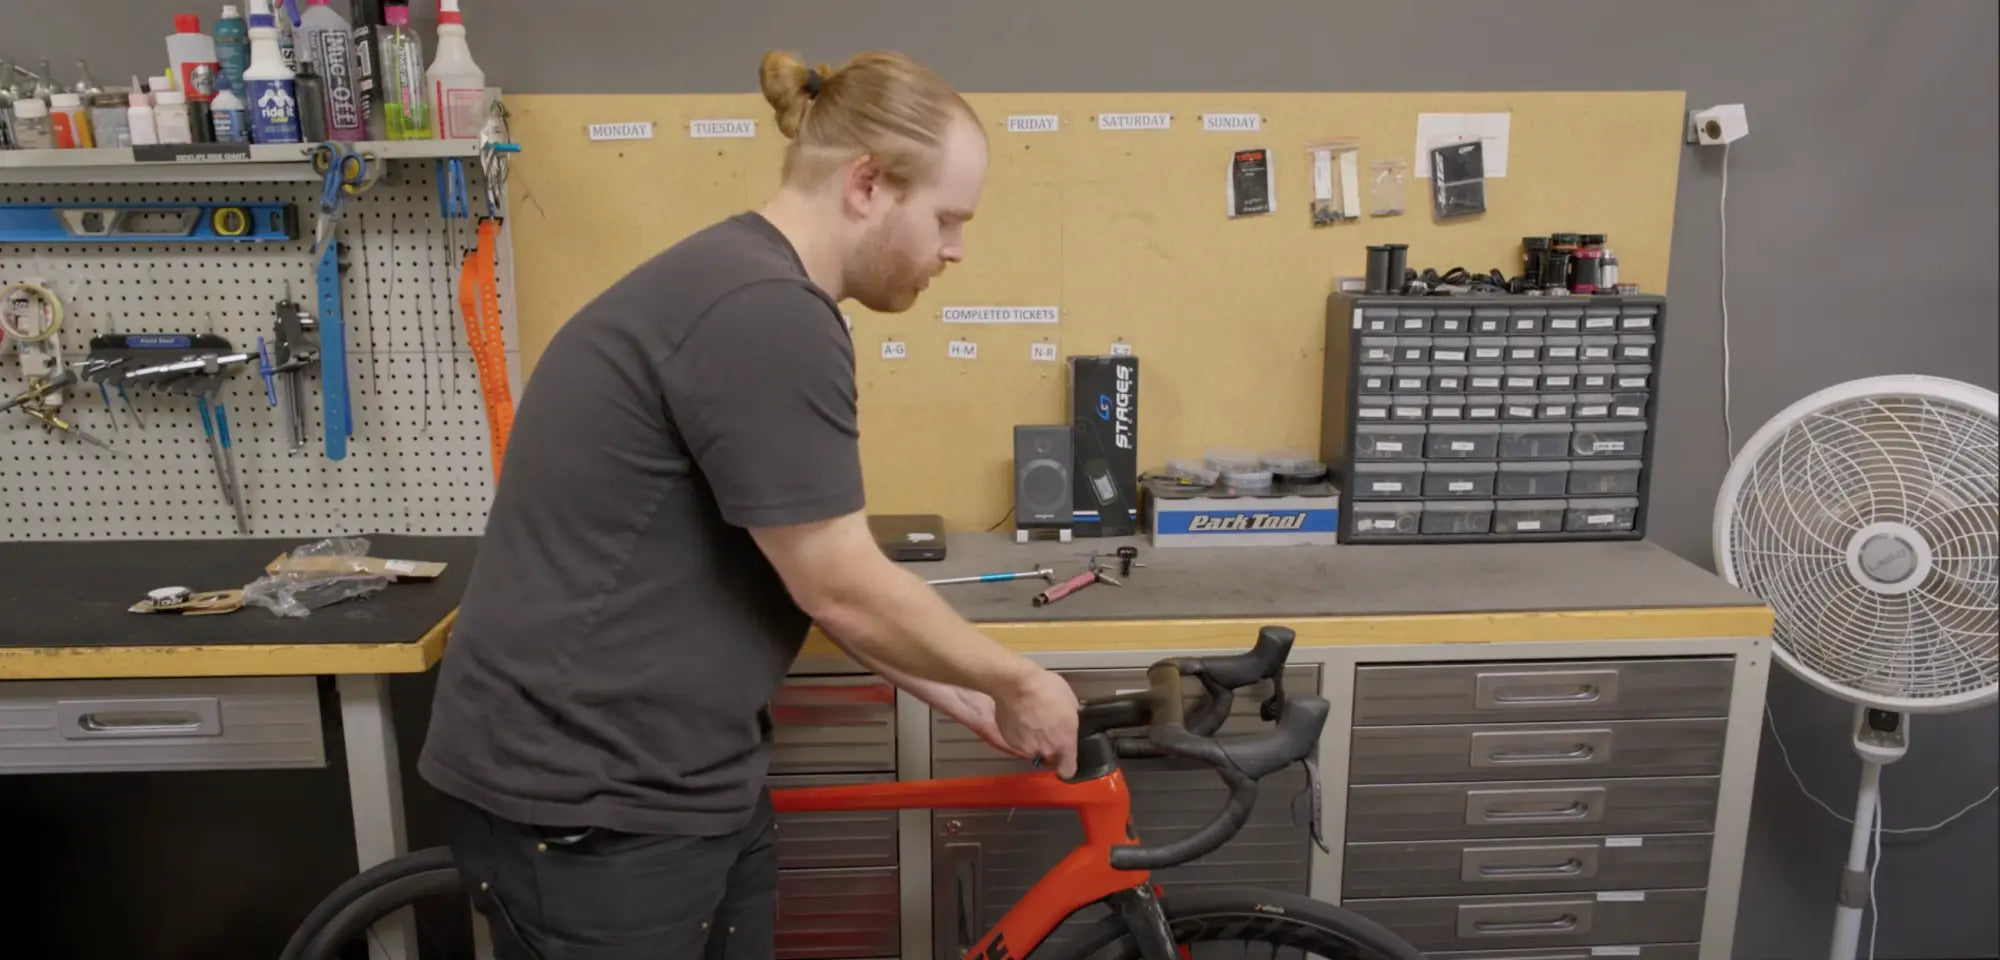
Mounting Process (Start to Finish)
Start with the rim clean and fully taped. Check that the tubeless tape covers spoke holes completely and extends slightly up the inner sidewalls. A good seal starts here.
Install the tubeless valve and snug it down. Make sure the rubber base sits flush against the inner rim bed.
First Bead
Mount one side of the tire onto the rim. It usually goes on by hand without much fuss. We always line up the tire logo with the valve stem—it’s a small thing, but it helps if you ever need to find a puncture later or even just getting to the valve quickly.
As you mount the bead, double-check that you move it into the rim’s center channel. This is important. That channel gives you just enough room to stretch the tire into place. If the bead rides up onto the shoulder, you’ll fight the rest of the install.
Second Bead
This side always takes a bit more effort. Work your way around slowly, keeping both beads close together and seated in the center channel. Most tires go on without tools, but don’t be afraid to use levers for the final few inches.
Inflation
Attach the pump and start with quick, firm pumps. You’re listening for pops—that’s the bead snapping into place over the rim shoulders. Most gravel tires seat somewhere around 25 to 35 PSI.
If nothing happens after a few seconds, stop and double-check both beads. Let the air out and make sure they’re still fully in the center channel. That’s the root of most failed attempts.
Once the tire seats and holds pressure, check the bead line all the way around. It should look even on both sides. Let a little air out. If the tire stays in place, you’re good to move on.
Sealant
Remove the valve core with your tool. Inject 2 to 3 ounces of sealant, depending on tire size. Reinstall the valve core, reinflate, then shake the wheel side to side, up and down, and all around. You’re trying to coat the inside of the tire so the sealant can find and plug any tiny gaps that may cause slow leaks.
If you hear a little hissing right after inflation, don’t panic. Most of the time, the sealant takes care of it within a minute or two.
If You Run Into Problems
Some tires go on like butter. Others feel like they’ve never met your rim before. That’s normal. Here’s what to check:
-
Bead not seating? Make sure both beads are still in the channel. If they’re riding up high, let all the air out and reset them.
-
Air rushing out fast? Check the valve core and make sure it’s tight. Also inspect the tire bead at the valve—it’s the most common place for air to escape.
-
Still won’t seat? Try short, aggressive bursts with the pump. That pressure spike can be enough to pop the bead into place. You can also spray a bit of isopropyl or soapy water around the bead (where the bead a rim bed meet) to give a little extra encouragement.
Some tire and rim combos are just a bad match. If all else fails, try a different tire or bring it to a shop with a compressor. But that’s rare.
Is It Worth It?
Absolutely. We’ve been running lower pressures (rarely above 35psi) and haven’t had any flat issues. Even riding chunky, sharp gravel and some light singletrack. The comfort and traction alone are worth it.
Setup takes 20 minutes once you know what you’re doing. Maintenance is just topping off sealant every few months.
And the first time you ride through goatheads or glass and hear nothing but silence, you’ll wonder why you didn’t do it sooner.