You’re riding along and everything feels fine—until it doesn’t. You grab the front brake, rock the bike back and forth, and there it is: a tiny clunk. It’s subtle, but once you notice it, you can’t un-feel it. That’s classic headset play.
The good news? Fixing it is pretty simple. The key is tightening things just enough to eliminate the movement, without crushing your carbon steerer or making your steering feel sticky. This guide covers exactly how to do that, even if it’s your first time.
Let’s start with the basics. Most modern bikes use a threadless headset. That means you’ve got a bearing in a cup, a compression ring, and a top cap. Tightening the top cap pushes down on the ring, which compresses everything and holds it all together. Your goal is to get everything snug—no movement, no binding.
If your bike has internal cable routing, there’s one more thing to consider. A lot of these setups use a larger, composite (read: plastic) compression ring instead of a traditional metal one. The benefit? It’s safer for carbon steerers. But because it compresses more easily, your headset might feel tight at first and loosen slightly after a couple rides. That’s normal. You’ll just need to go back and give it a small adjustment once things settle.
Here’s what you’ll need: a 4 or 5mm hex key, a torque wrench set to 5 to 5.5 Nm, and a few minutes of focus.
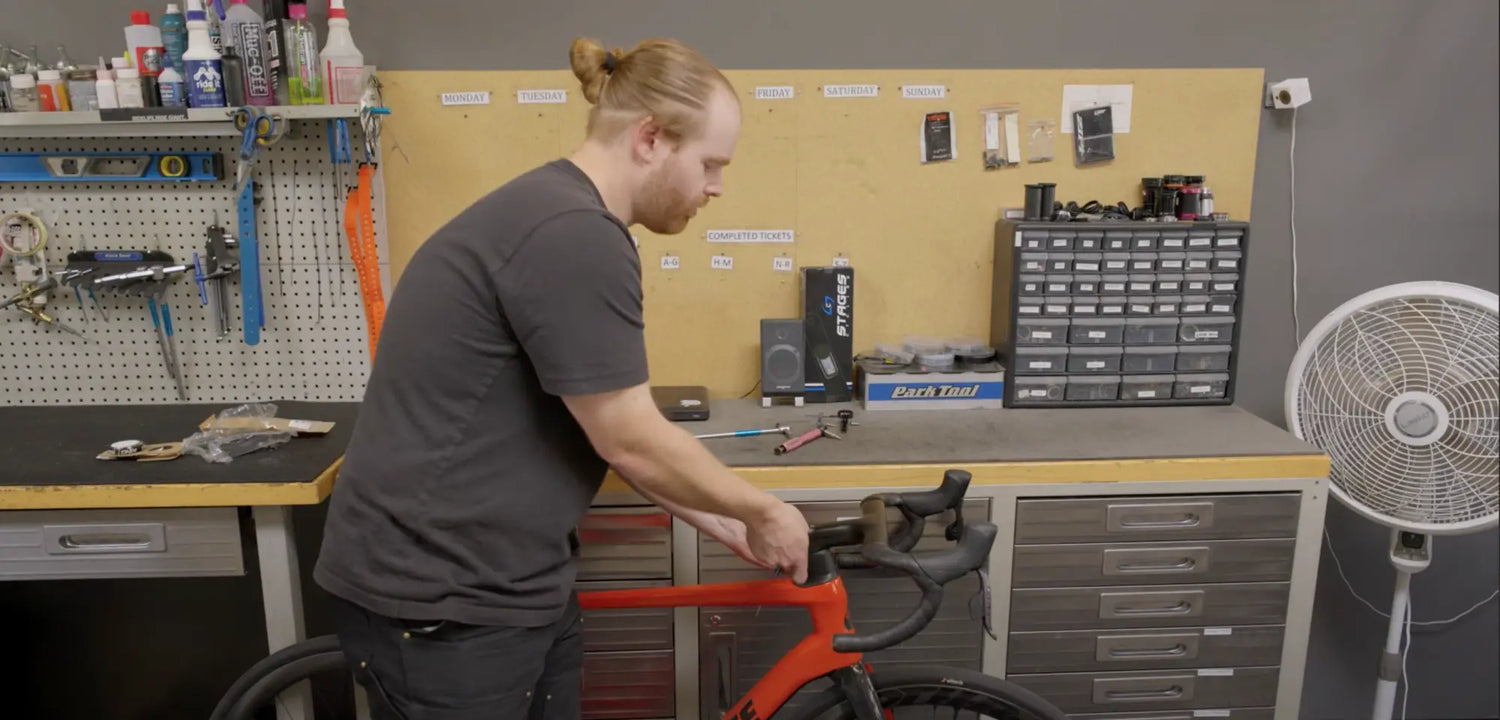
Start by checking for play. Straddle your bike, squeeze the front brake, and rock the bike forward. Rest a finger on the junction between the top cap and the head tube—you’ll feel any movement right away. If it feels solid, great. If not, it’s time to adjust.
Loosen your stem bolts just enough so the stem can move. Then, use your hex key to tighten the top cap very slightly. Think micro turns. After each one, test for movement again. The goal is to remove the play while keeping the steering smooth. If it starts to feel tight or notchy, you’ve gone too far. Back it off and try again.
Once the play is gone and your steering feels right, it’s time to torque the stem bolts. Snug them evenly, then tighten to spec using your torque wrench. Make sure to alternate between bolts so the clamp pressure is even. You’re aiming for a single, solid click on each—no need to double down.
Give everything one last check. Squeeze the brake and rock the bike. Still solid? No resistance in the steering? You’re good to go.
If you’re using a composite compression ring, don’t be surprised if you need to re-tighten things after a few rides. The ring can compress slightly under load, especially on new builds. When that happens, just repeat the steps above. Loosen the stem, add a bit more compression, and re-torque.
It’s a small job, but getting your headset dialed in makes a big difference. Your front end will feel more responsive, your handling will be sharper, and you’ll avoid unnecessary wear on your fork and bearings.
So grab your tools, give it a quick check, and get back to riding.


