


So you're worried about making the jump to tubeless? The old guys in your club bemoan the sealant spraying everywhere and the "impossible" to mount tires. But, we're here to tell ya why tubeless works, why we're all in on it, and how you can make your tubeless experience as easy as possible.
You Don’t Need a Workshop
Here’s what we use:
• A floor pump that actually moves air (Silca Terra works great)
• Tire levers (Pedro’s are reliable and rim-friendly)
• Valve core remover
• Tubeless sealant
• Sealant injector (many small sealant bottles have caps that double as the injector)
If you’re starting from scratch, expect to spend around $40 on all the small parts. The pump itself might tack on another $100 or so depending on what you choose (if you don't have a good pump already). No compressor needed for most well-fitting tire and rim combos.
The Process (What Actually Matters)
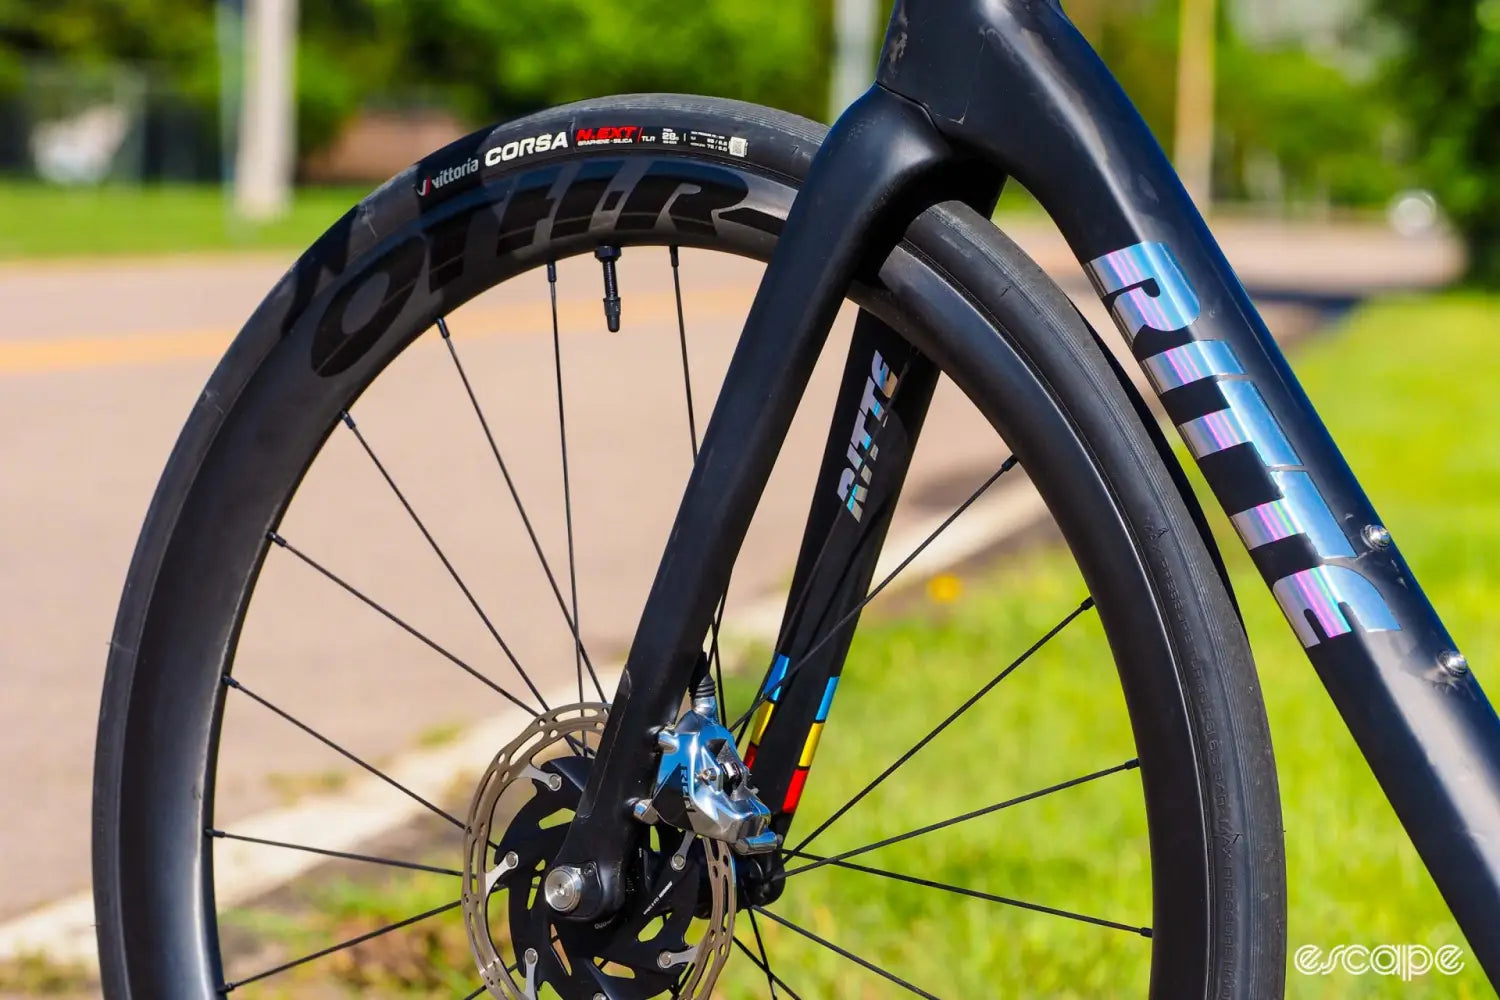
Every tubeless-ready rim has a deep center channel running around the inner diameter. That channel exists, in part, to make tire mounting possible. It gives the tire bead just enough slack to stretch over the rim. If the bead isn’t sitting fully in the channel—both beads—you’re going to have a hard time. That’s the number one mistake people make.
Start by mounting the first bead. Usually, it fits over the rim without too much of a fight. Still, keep checking that it’s pushed into the center channel as you go.
Next comes the second bead. This is where things usually get tight. The last quarter of the tire can feel impossible to get over the rim sidewall if the bead starts riding up onto the rim shoulder instead of sitting in the channel. Work slowly. Use your hands to pinch the two beads together and keep them in the deep center channel. Don't be afraid to backtrack a bit if it starts getting out of line.
For the final few inches, grab your tire levers. You may not need them, but it makes life easier. A little tire soap or diluted dish soap around the bead can help it slide the last bit if it’s really stubborn.
Once the tire’s on the rim, time to inflate and get the beads mounted. Attach the pump and start pumping quickly. You’re listening for a few pops—that’s the bead snapping into place over the rim shoulder. Most road tires seat somewhere around 50 to 60 PSI, sometimes lower.
Inspect the sidewalls of the tire all the way around. You want to see an even line where the tire meets the rim, with no dips or low spots. Let some air out. If the tire stays seated, you’re ready to move on. If it slides back into the center channel, it wasn’t fully locked in and needs to be reseated (by inflating again until it mounts).
Seal It Up
Remove the valve core. Inject around 1-2 ounces of tubeless sealant, depending on your tire size. Reinstall the valve core, re-inflate to about 80 to 90 percent of your max riding pressure, and shake the wheel side to side to help the sealant coat the inside of the tire evenly.
Spin the wheel, flip it, shake it again. You want that sealant to find every gap and seal it up tight.
If It’s Not Working
If you can't get the tire beads over the rim - check that the beads are fully in the center channel. Most issues come back to that. If a bead is partially on the rim shoulder you simply won't have the slack to get it over the sidewall of the rim.
If you've got the tire mount but it won’t seat, try a few quick, strong bursts with the pump. Sometimes that little pressure spike is what finally pushes the bead over the edge. You can also spray a bit of isopropyl or soapy water around the bead (where the bead a rim bed meet) to give a little extra encouragement.
And yes, some tire and rim combos just don’t get along. That’s not your fault. In those cases, a blast of Co2 can usually get you sorted out.
If you really can't get it to go, take it to your shop! They'll have the experience to get it work...or tell you if it won't.
We offer tires that we know are well made and mount nicely on our rims. If we found a tire to be too difficult to seat, we'd think twice about riding it - it could be out of tolerance. But, that's rare.
Is It Worth It?
Definitely. You get fewer flats, better ride feel, and improved rolling resistance. And once you’ve mounted a couple of tires, it's pretty quick and easy to do.
Road tubeless is showing up on almost every high end bike. Might as well learn how to deal with it now—on your schedule, in your space—rather than scrambling mid-ride.
It all comes down to understanding how the system works. Once you’ve got that, the rest is just putting things where they’re supposed to go. Work with it, not against it.