


You’ve undoubtedly heard a number of brands, bike fitters, custom builders, and experienced cyclists talk about geometry. Waxing poetic about the perfect handling that their favorite old bike has and how one brand’s approach to head angle is better than another. What makes a bike perfect? How do you decode the numbers? And how do you know if a specific bike’s geometry is right for you?

What is Geometry?
The geometry of a bike, simply put, is all of the numbers and angles that compose a bike frame. However, geometry isn’t quite so simple as good or bad, fast or slow, wrong or right. Geometry is very personal - it’s also size specific and purpose driven. A bike designed for a smaller rider chasing lap time at the velodrome might be perfect for them, but if you took the angles of that bike and scaled it up for a taller rider whose daily riding is in the dolomites it would be truly awful.
Why should it matter to me?
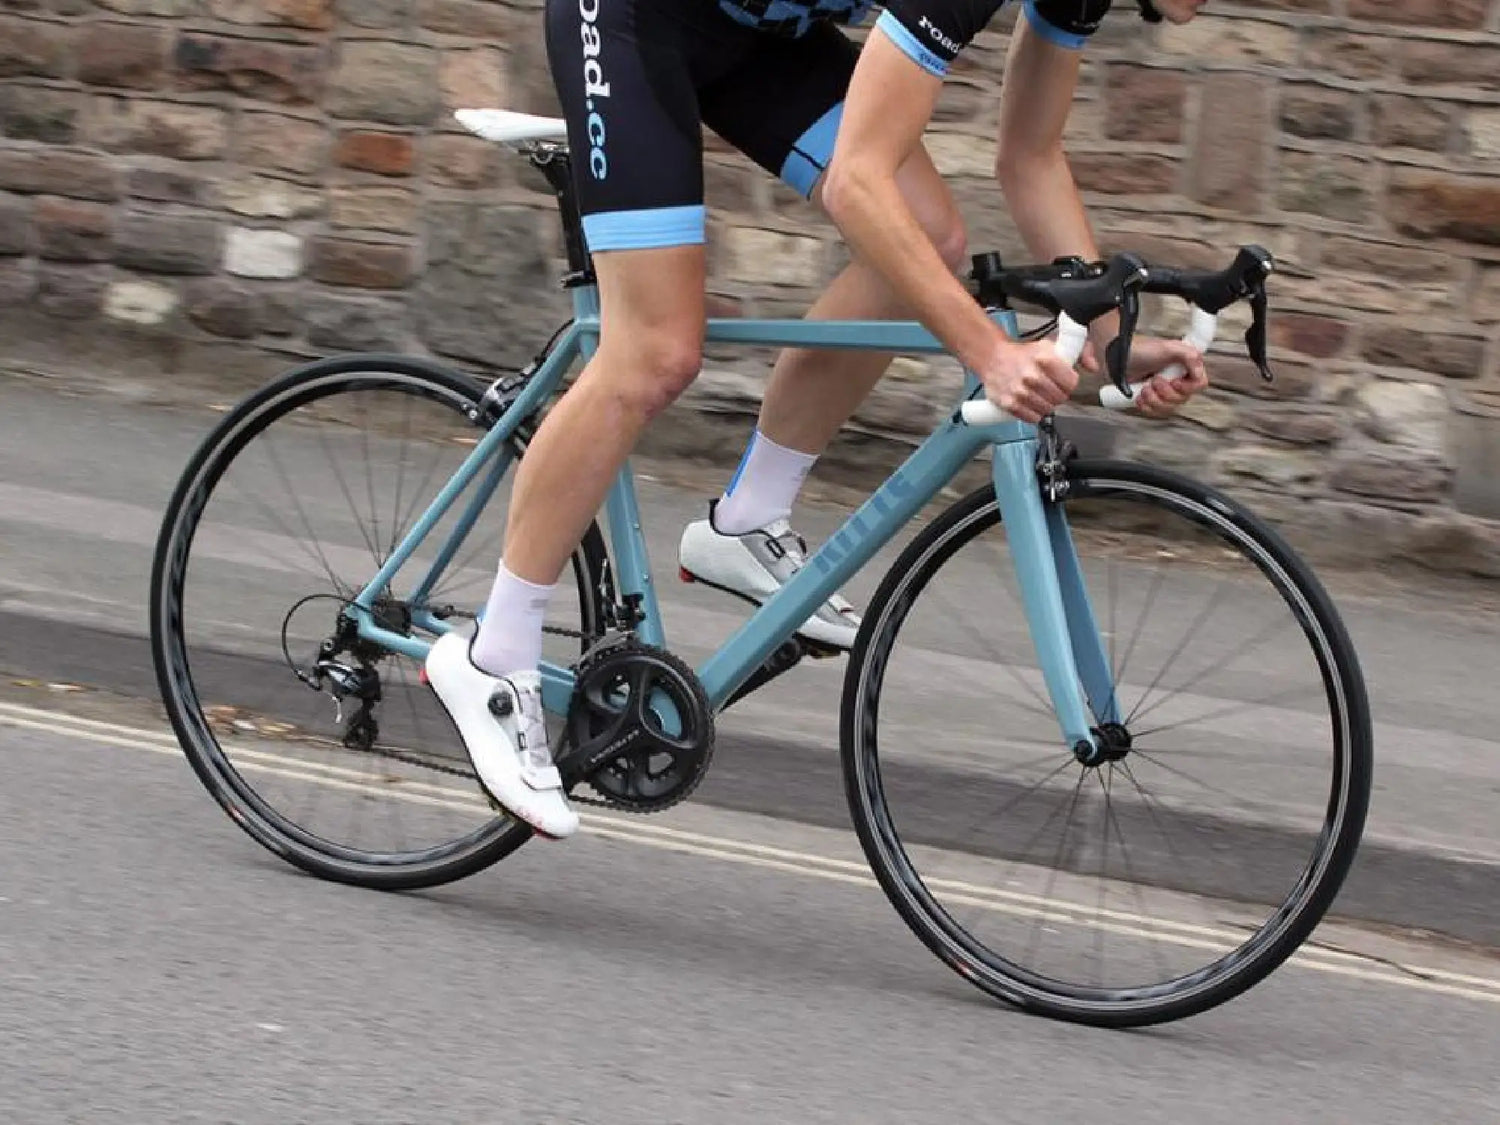
So let's take a step back - what do we aim to make our bikes do? For us, it’s all about inspiring confidence - a confident rider is going to descend faster, take corners faster, brake later and harder, and be safer doing it. We want you to get on your Ritte and trust it implicitly, to know it’s going to handle reliably and go where you point it with no surprises. Whether it’s a reducing radius corner over chip seal or a long sweeper that you need to pedal through - you want to be well balanced and confident.
In recent years, we’ve seen the industry try to settle into a simplification of geometry - dulling down the numbers to focus in on reach and stack. While those numbers are helpful, they only tell a small part of the story of getting a bike to fit you - but not much about how the bike will ride. These numbers are an evolution of top tube and seat tube measurements from the bikes of the 90s and before.
While the on bike fit numbers are important, you’ve gotta fit on your bike of course, they won’t really tell you about the rest of the bike around you. Two bikes with identical reach and stack can perform very differently. Stability, predictability, and great cornering prowess really come from factors like bottom bracket drop, front center length / rear center / wheelbase length, and trail.
A lot more to look at than the top tube number, but we’ll explain…
What makes a Ritte handle well?
So the secret sauce, which really isn’t a secret, is balance. Keeping your weight balanced between the wheels with enough weight over the front end to have good grip and enough rear center length (or chainstay length) to prevent a bike from being darty or loose. Getting your weight low, within reason, will further serve to keep the wheels planted.
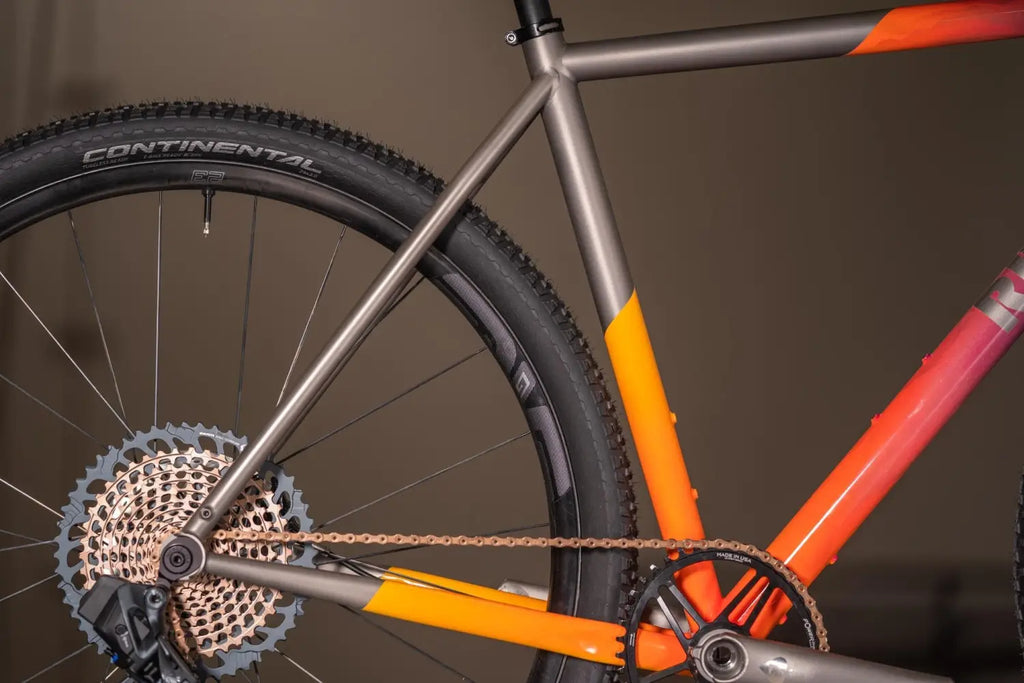
Rear Center
If you keenly study our geometry charts you might notice that the rear center (or chainstay) lengths on our bikes follow a curve - the smallest sizes and the largest sizes have the longest lengths and the middle sizes have the shortest lengths. Why would a small bike need longer chainstays? It comes back to the size specific geometry we mentioned at the opening.
On a small bike, the front center length (distance from the bottom bracket to the front axle) will be smaller. This means the wheelbase is a little bit shorter. A truly short wheelbase will handle abruptly, lacking the stability needed at speed - too long a wheelbase and the bike will be sluggish, hard to turn in, resistant to go around right bends. The slightly longer chainstays provide a little bit more high speed stability and predictability to the overall package on a small bike.
On a very large bike, you have to look at the rider position - they have a taller saddle height and therefore more saddle setback. With too short chainstays their weight can start to extend too close to the axle - compromising the weight balance and handling. A few extra millimeters make a world of difference in keeping the taller rider’s weight centered.
Front Center and Wheelbase
Front center comes into play mainly in its relationship with rear center in creating the right overall length. The wheelbase length. There is a relatively narrow window in which road bikes handle optimally - a wheelbase around 1m or 1000mm is just right. There’s about 20mm of variance in either direction in which the bike is still going to handle well. But once you start dipping below 980mm or above 1020mm things can go awry. Truly short wheelbases sacrifice stability, long ones makes the bike harder to maneuver and commit to corners.
A front center that is too short can result in a wheelbase that’s too short or a front end that is twitchy. A front center that is too long for a given size can make a bike difficult to control as the front end won’t have enough weight on it for optimal grip.
Balance, all about balance.
Bottom Bracket Drop
Another item we take a very critical look at is the bottom bracket drop, or BB drop for short. You might have heard this term before when talking about cyclocross bikes, but it’s not as often discussed for road bikes.
This measurement is how far the bottom bracket sits below the centerline of the axles. 80mm of drop would mean a lower bottom bracket, and 65mm of drop would mean a higher bottom bracket - the lower the number the closer to the axle centerline the bottom bracket is, and therefore the higher it is. That range doesn’t seem huge, as we often make stem length changes of 10mm, 20mm, etc. But the BB drop plays an outsized role in how a bike feels.
Many road bikes are using BB drop that is around 70mm on the smaller sizes, scaling for the larger sizes. In general, a larger bike should have a tad less drop to account for longer crank lengths when pedaling through corners. In the last few years we’ve all seen the shift from 23/25mm tires to 28mm tires. With that, we’ve elected for a little bit more BB drop to correct for the taller ride height from the larger tires.
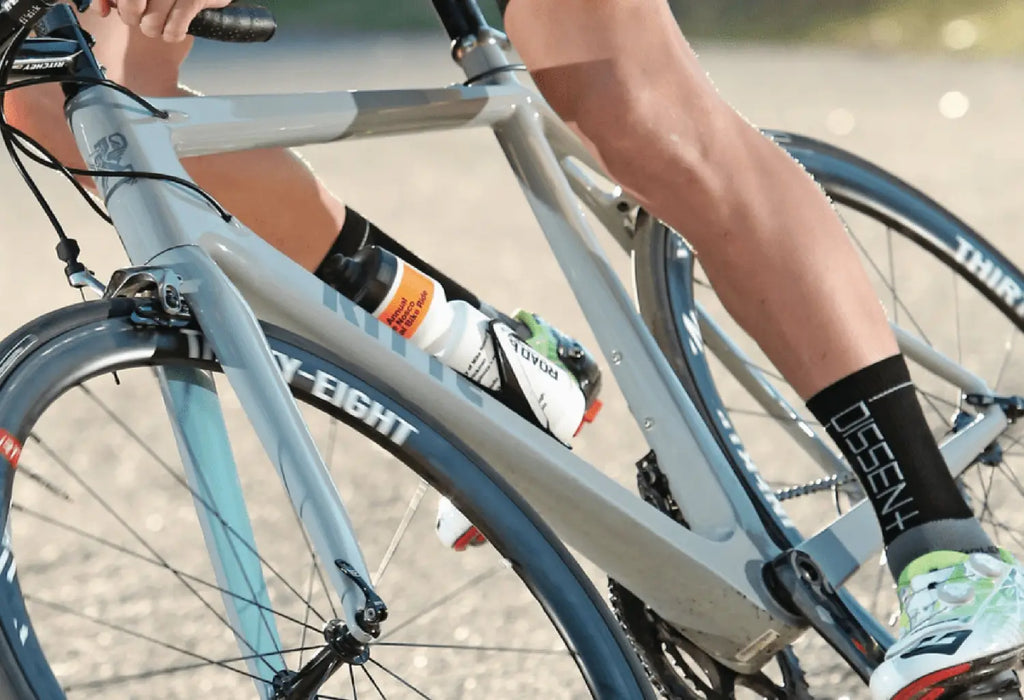
A Ritte rides as if you’re part of the bike - rather than a passenger on top of it. A big part of that is getting the weight low without forcing you into a contortionist position via careful positioning of the bottom bracket and chainstay length. Keeping you…yeah, you guessed it, balanced.
Trail / Rake / Offset
So we’ve now covered all the parts that keep your weight balanced on the bike and the design elements that give you stability. But what about turn in and a predictable front end? “That’s super important,” you’re thinking - and you’re right.
When you turn your bike into a corner you want it to predictably track the surface beneath you. Whether it’s a long sweeping corner or a tighter corner with multiple or reducing radii. Your expectation is to lean the bike over, turn the bars, and know that the bike is going to go where you point it and easily come back to center. You never want it fighting you and you never want to have to correct for the bike’s actions or wrestle the front wheel into a line.
This is where trail comes in. Trail is a measurement that takes into account head tube angle and rake or offset of the fork. Head tube angle is pretty self explanatory, rake is how far the axle sits in front of the steering axis in millimeters. Most road forks will be between 40 and 50mm of rake or offset. The reason for varying the rake along with the headtube angle is to keep the trail figure consistent across all sizes as best as possible - this is maybe the only measurement on a bike that a designer would aim to keep constant.
Trail is how far behind the steering axis the tire’s contact patch is - the tire’s contact patch “trails” behind the steering axis. To control the trail we can alter the head angle or the fork rake to achieve the number we’re looking for. Making a headtube angle slacker, all else being equal, will increase the trail. Decreasing the rake or offset will do the same by moving the wheel further rearwards. The inverse is also true, of course.
If the light bulb is going off, it should be - seeing headtube angle or fork rake independently really won’t mean much. But together, they can give you a trail figure and help you understand how a bike will handle. People mistakenly think a slacker headtube angle will slow down the handling, and it’s not always true. Often, a headtube angle may be slacker for another reason - such as to provide a bit more toe clearance on a smaller frame and the handling is corrected with a lower rake fork.
There are a few bikes on the market that have very low trail figures, under 50mm for example. Those bikes will be very easy to change lines or change direction at low speed, but they require extreme concentration to keep under control on higher speed descents or even in a straight line at fast paceline speeds. These bikes are often described as twitchy.
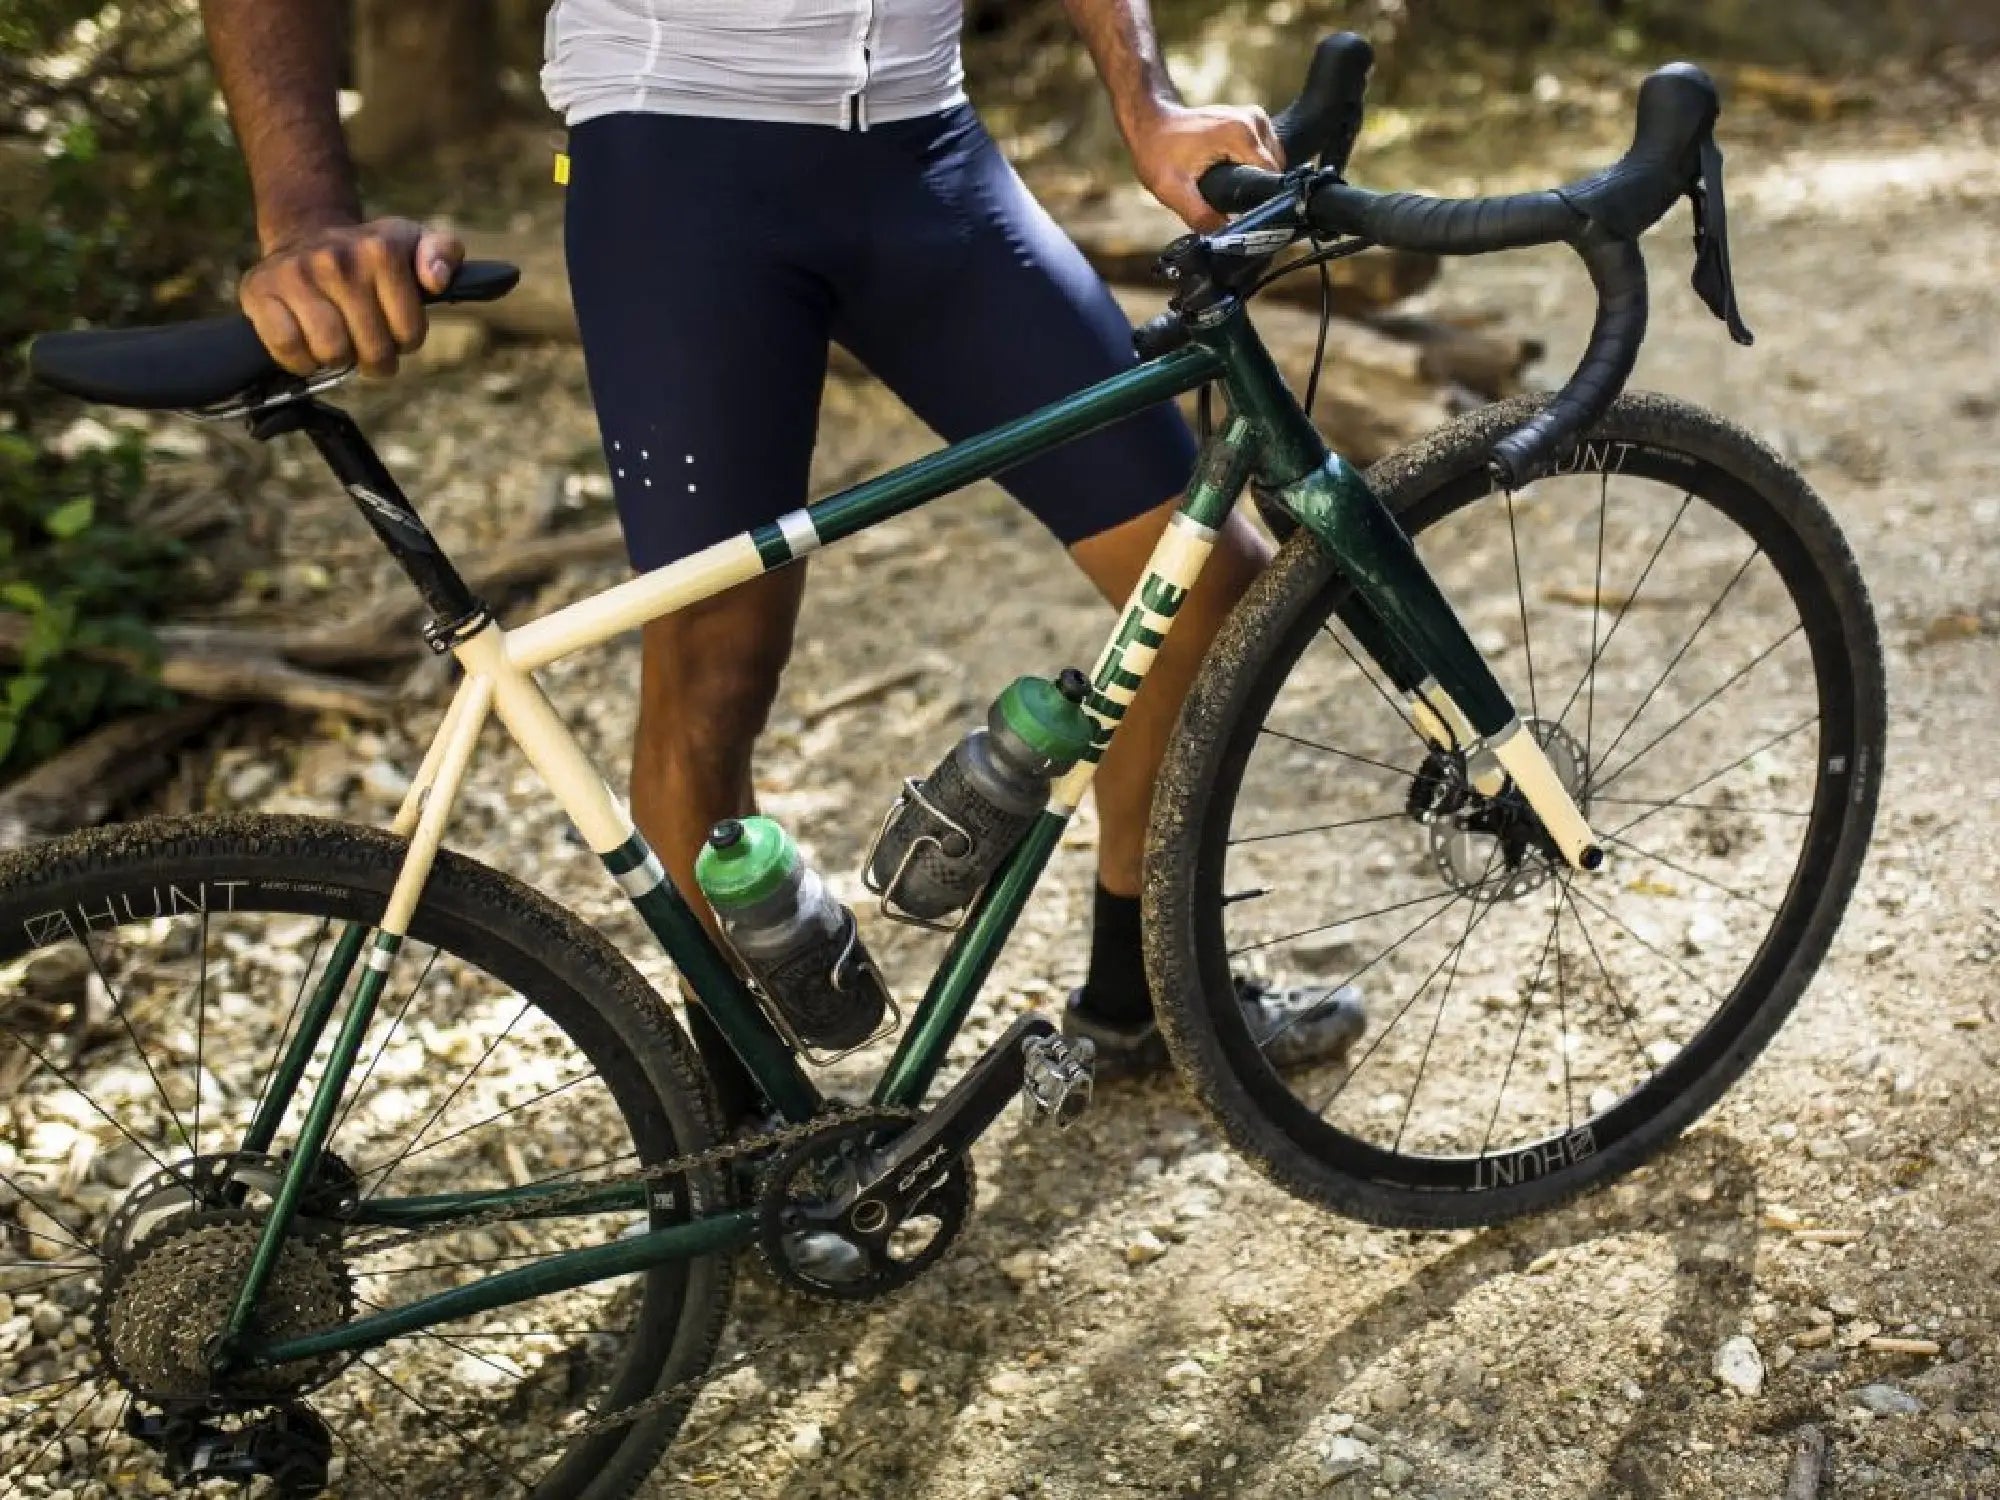
Endurance road bikes are trending towards the longer trail figures that define many gravel bikes - 65mm or more. These bikes are stable at speed, but often turn in more than a rider would intend at low speed and require more effort to pull out of a turn when going quickly.
Like BB drop, trail is a place where the number has an outsized effect on the handling. An observant or experienced rider could pick up on a very subtle difference of 2-3mm of trail. We shoot for a trail figure between 55 and 60mm for road bikes, this is a neutral number that provides predictable handling. Most of our road bikes are right around 58mm - at this number a road bike will do what you intend for it to do without any surprises.
What else do you need to know?
So now you’ve got a bit of insight into what we are looking at in terms of geometries and how we adjust them to fit a specific size of bike (and rider). The next piece of the puzzle is how the rider fits onto the bike.