


Getting Dialed in on Your New Ritte
We know that not everyone is near a dealer to get fitted in person. It may seem daunting to buy a bike online and find the right fit. We do this day-in and day-out, and we've found that a little bit of personal interaction goes a long way towards getting you on the most comfortable setup possible. We'll dive into a few details below that help us create a fit profile and bike setup just for you.
We just need a few simple photos, details, and measurements. A fit report from a bike fitter is great for your records, and we're glad to include it in our analysis in addition to the details below.
Disclaimer: This isn’t another internet bikefit how-to or some harebrained remote bike fit. If you look kinda wild on your current bike, we might ask you “whazzup with your saddle angle,” but the fine folks here at Ritte aren’t going to be able to wave a wand and make you look like a young Michele Bartoli. We know our bikes better than anyone, and if you give us pictures and numbers of a bike you are already stoked on, boy oh boy are you are gonna be mighty happy with what a Ritte can deliver - so let’s get started:
First up: Photos
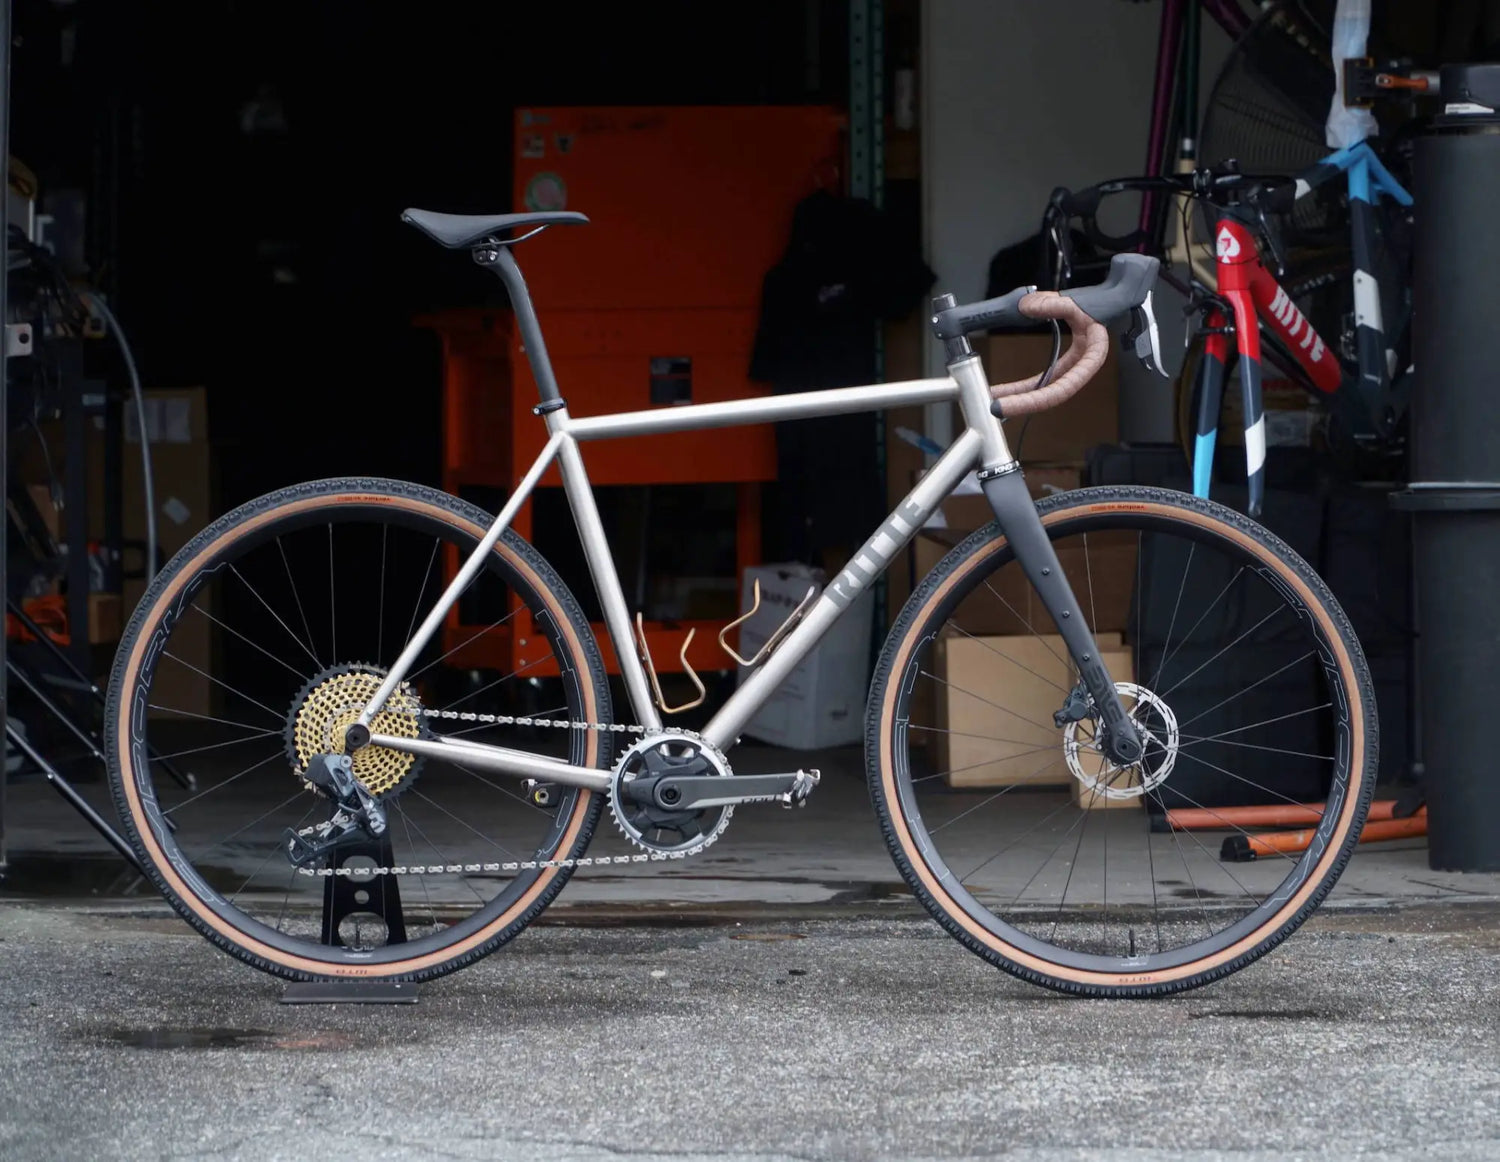
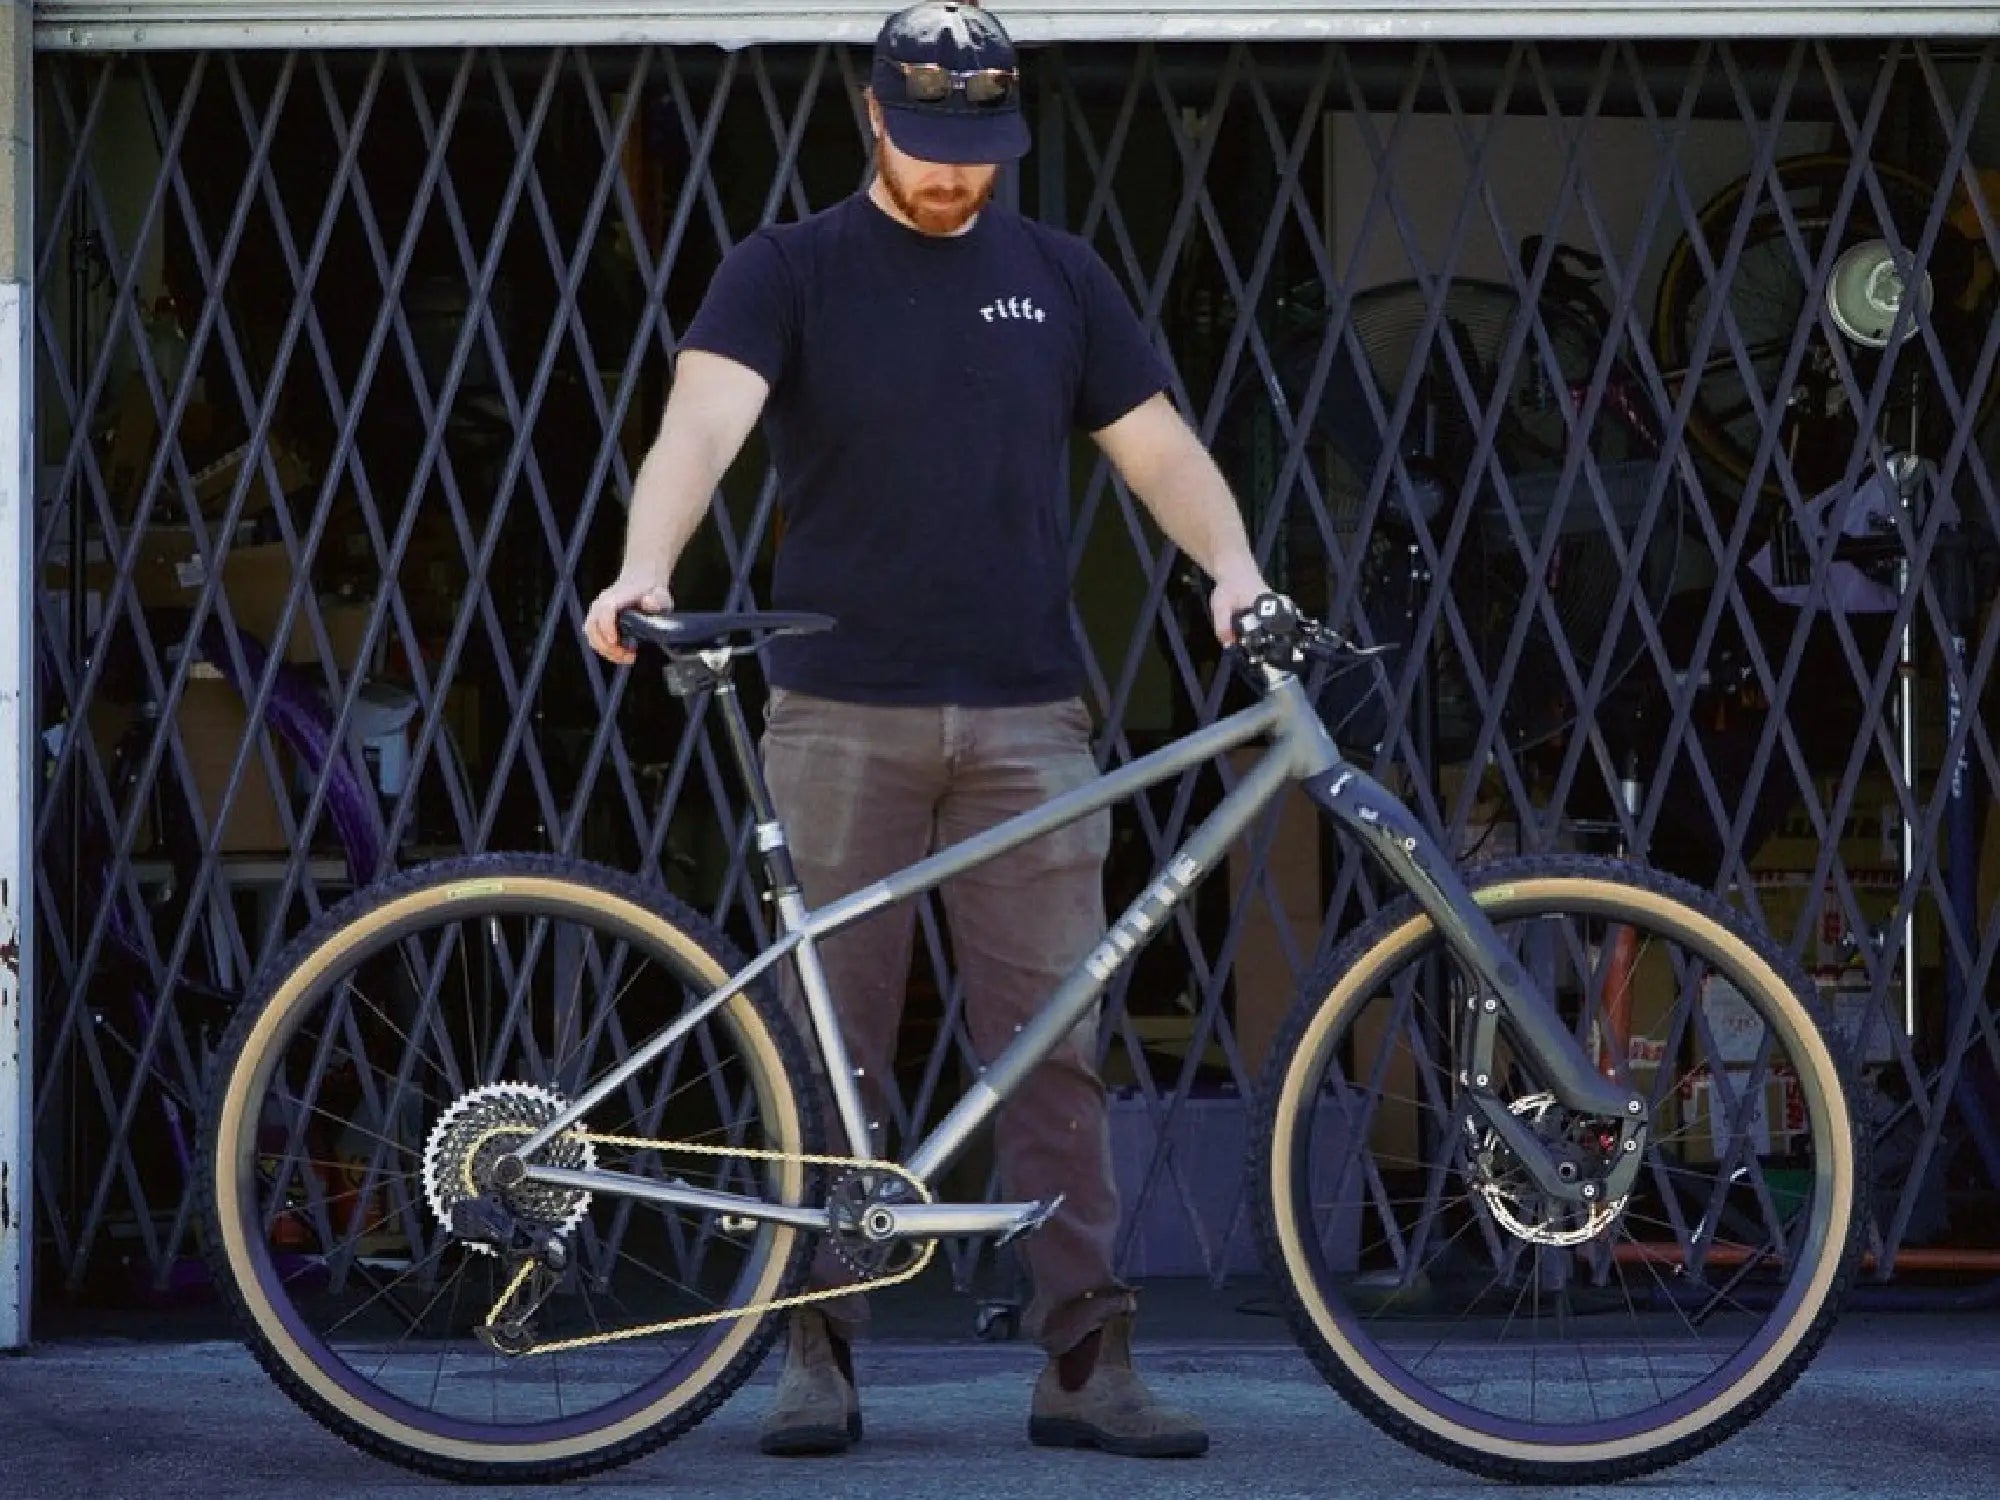
1. Please snap us a picture of the road bike you are currently riding and enjoying the most. The typical driveside-out garage door bike picture is fine. Nice and big. But hey, not too big. Like the image in the banner.
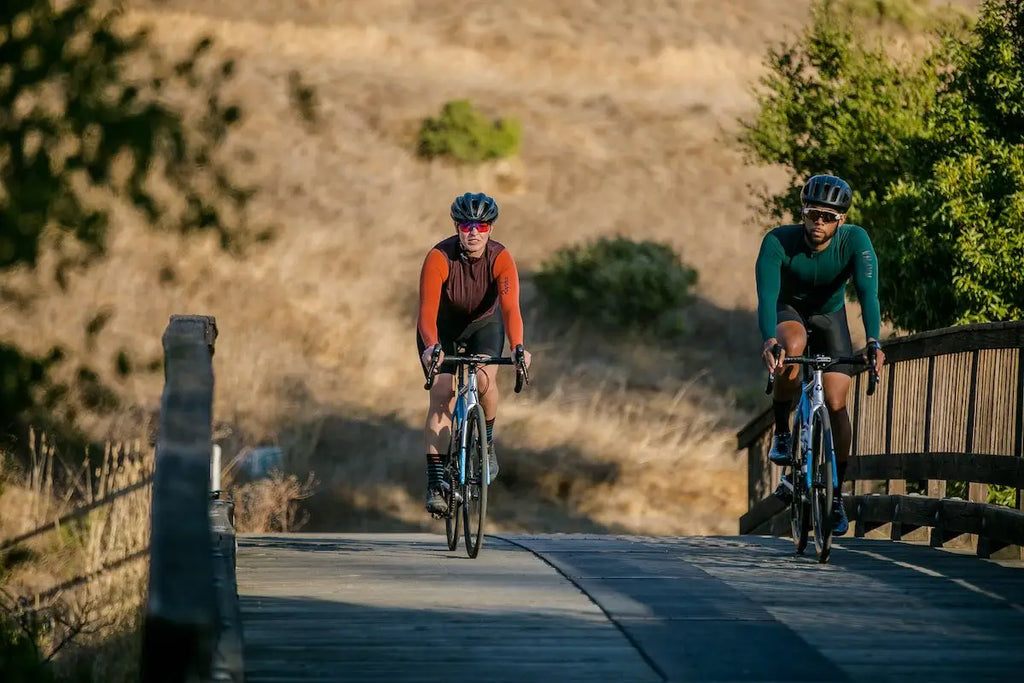
2. If someone can snap pictures or videos of YOU on the bike, pedaling on rollers or a trainer, with your hands on the hoods, tops and drops, that would be fannnnntastic. Being able to see all your limb segments in action - on the bike you ride now - tells us so much more than numbers alone!
Second: Measurements
Units: metric, please. Centimeters provide easier accuracy than inches.
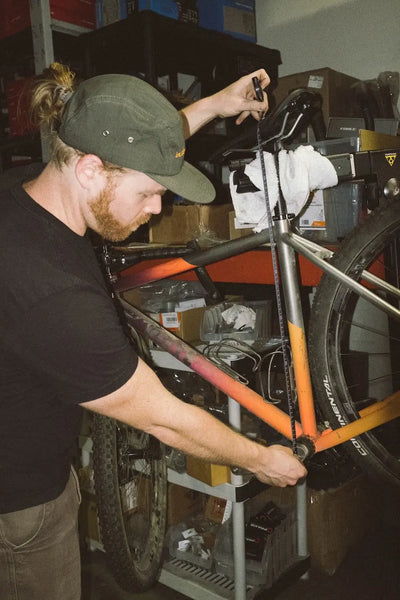
1. Saddle Height:
From the non-drive side measure from the center of the bottom bracket spindle to the top of the saddle along the axis of the seattube. A secret bike fitter tip, we will share with you, for free, right now... Line up the 10cm hash mark of your tape with the center of the bb spindle and then subtract 10mm from what you read on the tape at the top of the saddle. It’s easier. Really.
Easy peasy - check out our measurement techniques in the image below.
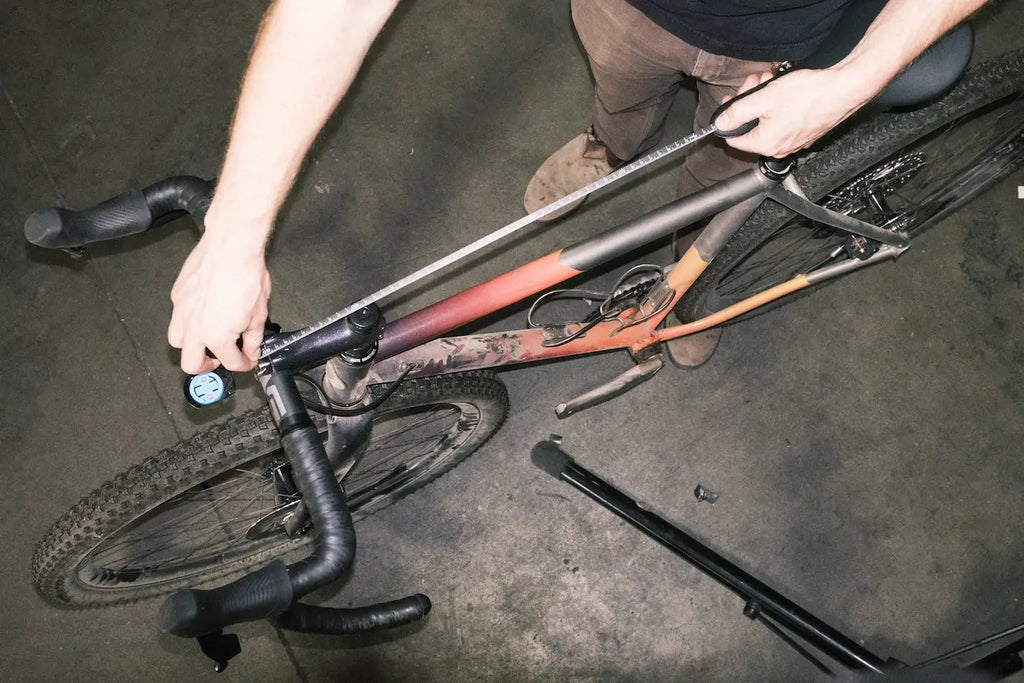
2. Saddle tip to bar center reach:
The reach from the tip of your saddle to the top center of your handlebars. Measured right along the top tube. This one is very helpful to take your personal shape into account - it's your reach, rather than the bike's reach.
Third, last but not least: Bike and Components
1. Model, Year, and Size of the bike you measured
2. Saddle model you currently ride, including width
3. Handlebar model, width
4. Crank length
5. Seatpost offset (especially if you send a picture where we can’t guesstimate)
6. Stem length
And just like that, we tackled it together! Just shoot us all this info in an email (support@ritteracing.com) and we'll build out a recommendation for you on frame size or a complete bike package. We can compare, contrast, and offer some ideas to get you as happy as ever on your new bike.