


“How do I travel with my bike? Do I have to buy an expensive case?”
Easily! And you don't immediately need to buy a bike case (but they are worth investing in for frequent fliers). Traveling with a bike is easier (and cheaper) than ever on flights within the US. Many carriers outside of the US are now allowing bikes to be counted as normal checked luggage too. If you’ve got a tip or an airline recommendation drop it in the comments below.
For now - we’ll tell ya how to get it packed up!
What you need:
1. Save the sturdy box your bike came in + all of the bike specific packing materials (disc brake protectors + brake pad spreaders)
1a. Otherwise, head to your local shop and ask kindly if they’d sort you out with a box and some wheel / brake protectors
2. Get yourself some foam tubing (Home Depot Link)
3. A handful of 11-12” cable ties / zip ties or other fasteners (packing tape, velcro ties, etc)
4. Hex keys to disassemble your bike
5. Packing Tape (and a tape dispenser if you’ve got one)
6. Scissors or cutters
7. A sharpie marker
Make sure your box fits your airline specs before packing!
Airlines use “Linear Inches” as their size calculation - that means the length + width + height of the box.
For example, our bike boxes measure 53” x 9” x 29” and total 91 Linear Inches
Airlines:
Carriers that allow 50lbs and 115 linear inches or more within the US:
Alaska Baggage Guidelines
American Baggage Guidelines (American allows up to 126 linear inches)
Some airlines only allow up to 80 linear inches, which will make it very challenging (if not impossible) to find a box that conforms. Some frame boxes are larger than that! So always check that all the segments on your itinerary are operated by airlines that allow bikes or luggage of this size.
How to get packed up:
- Remove your front wheel
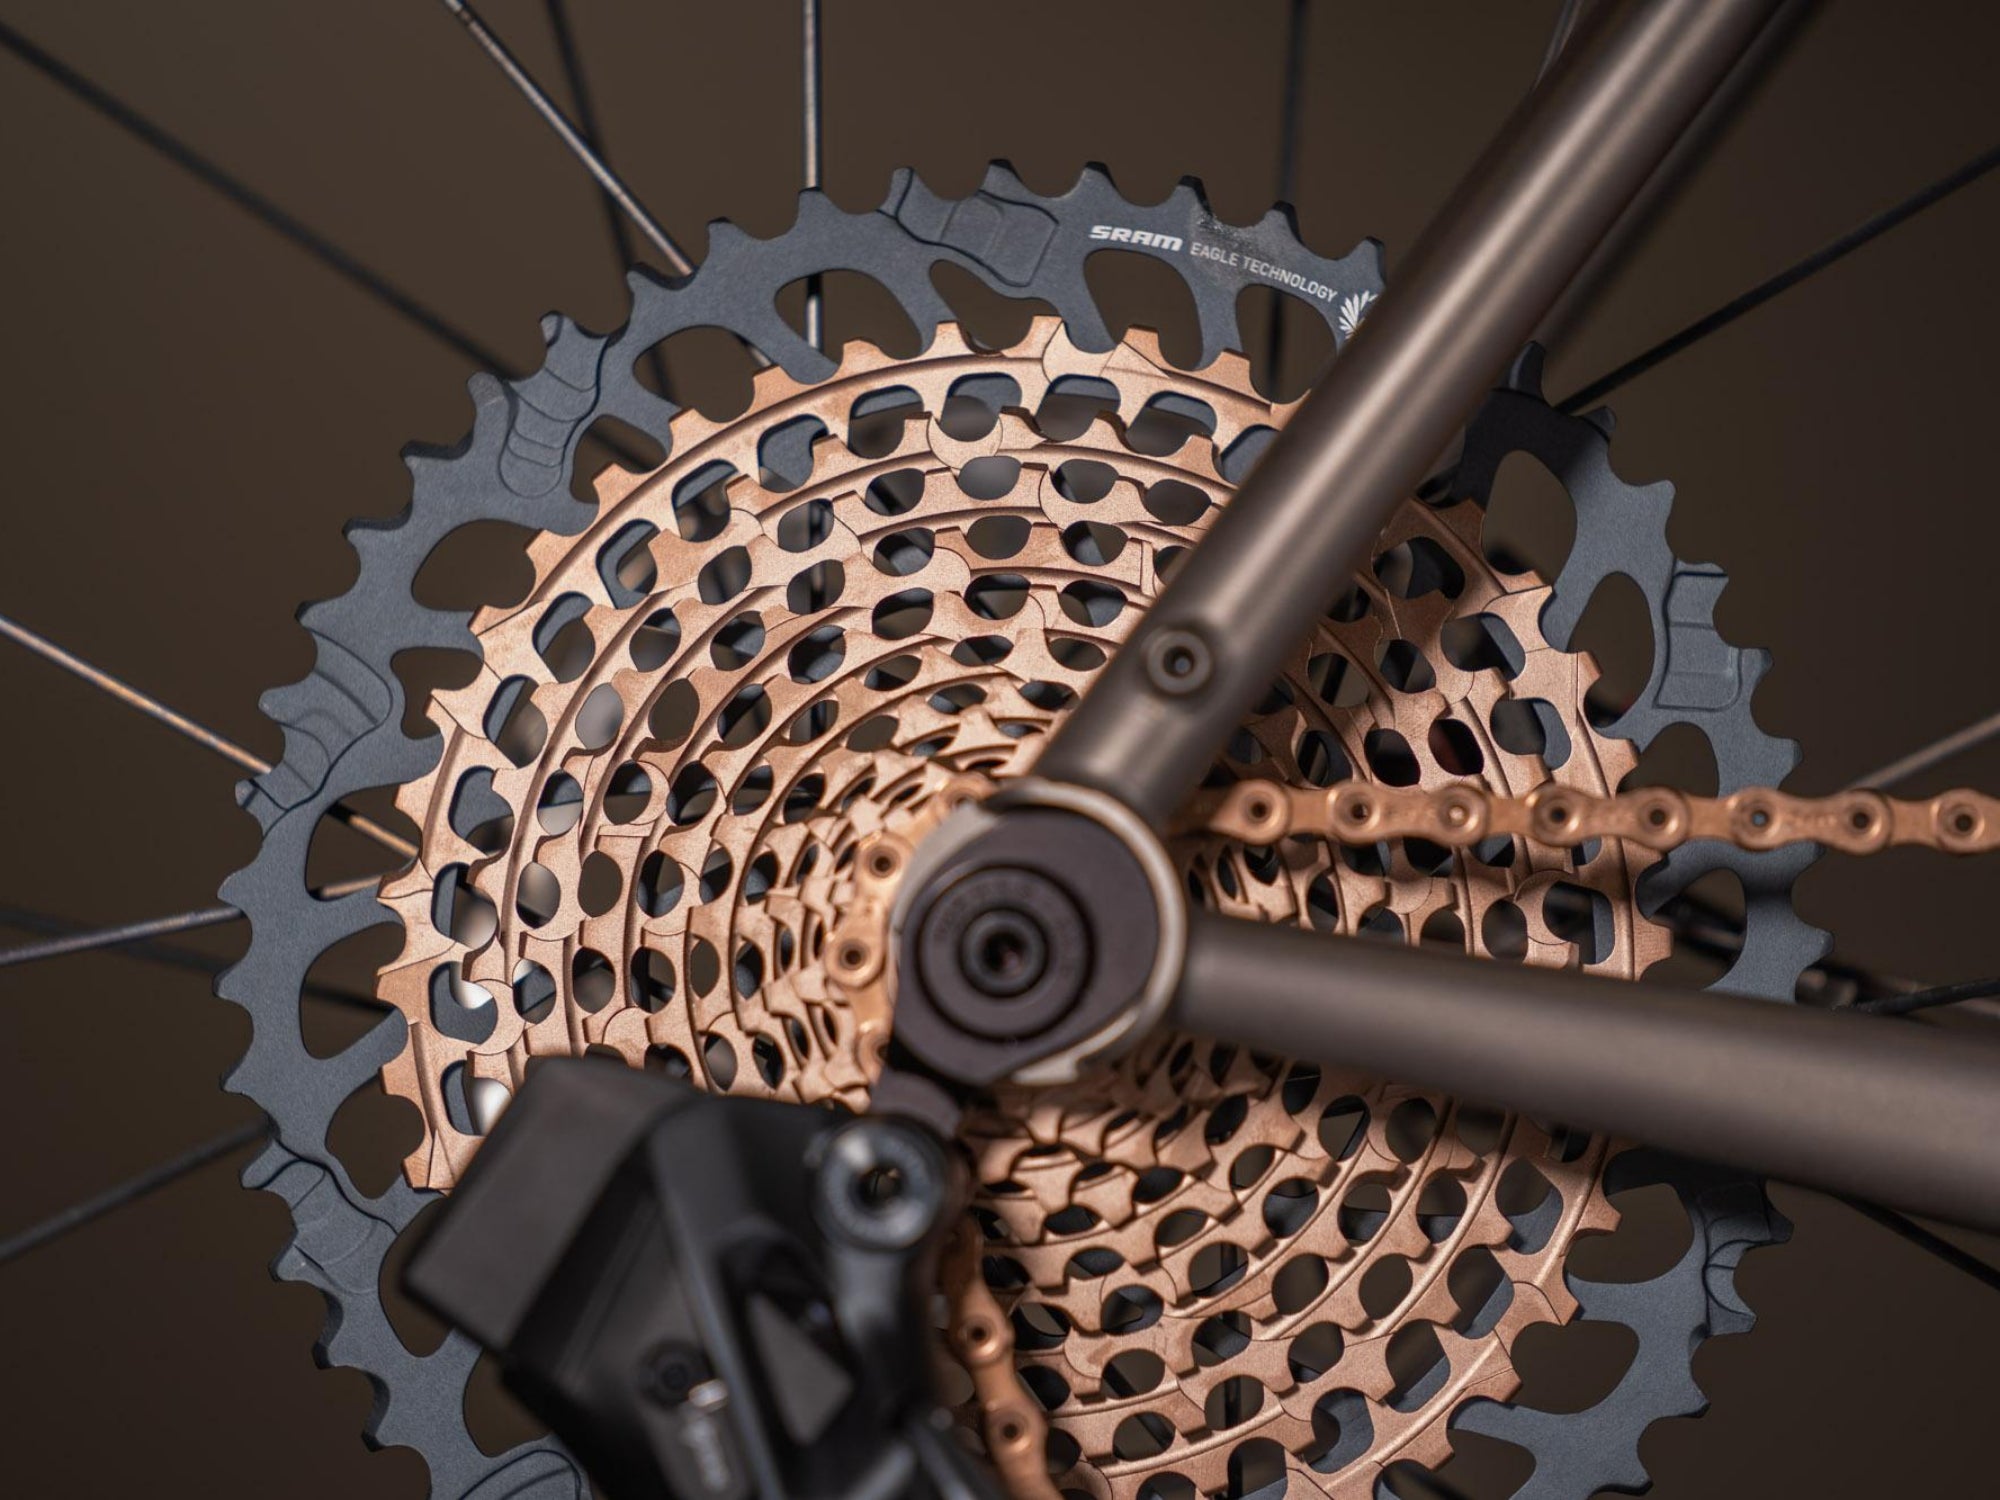
- Shift your rear derailleur to the middle of the cassette (to get the rear derailleur a bit inboard)
- Drop your tire pressures just a little bit - we go to around 40psi on road tires and 25psi on gravel tires
- Cut down your foam insulation / tubing and apply it to all sections of your frame
- Secure the tubing with cable ties
- Secure the driveside crank arm to the foam covered chainstay gently with tape or a cable tie
- Remove your handlebars from the stem
- Cover the bars and shifters with plenty of foam and secure them to the frame / fork (careful not to bend or pinch your hoses and cables!)
- Turn your stem backwards if needed
- Place your bike into the box
- Remove your seatpost and saddle - cover those in foam and insert them into the box
- Put wheel / disc protectors on your front wheel and insert it into the box on the driveside of the bike - remember to use a piece of cardboard to separate the wheel from the frame
- Add in any accessories you may need (pedals, tools, spare cable ties for the return trip, etc) - we like to wrap these in foam or bubble wrap and put them into baggie to hold them together
- Tape up your box and write your name + phone number on the outside with a Sharpie
- You’re ready to fly!
Was this helpful? Did you like my Shop Sandals? Have any packing or bike travel tips? Let us know below!